How to Build a Brand Portal in 5 Minutes – A Step-by-Step Guide
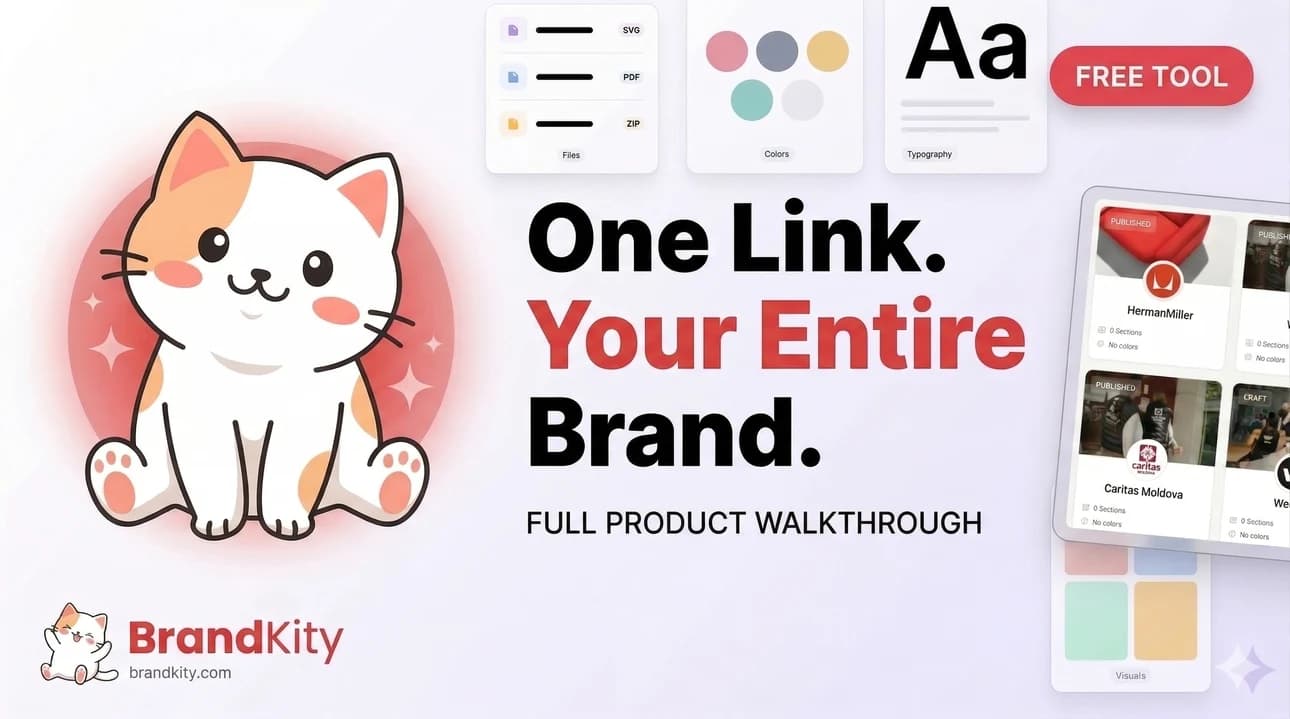
Build a complete, shareable BrandKity portal in minutes by following this focused, step-by-step process that covers creation, adding content blocks, publishing, and sharing. What is a Brand Portal and why build one? What is a Brand Portal? A BrandKity Brand Portal (BrandKit) is a single, shareable web page that holds colors, typography, logos, visuals, collaterals,
Table of contents
Build a complete, shareable BrandKity portal in minutes by following this focused, step-by-step process that covers creation, adding content blocks, publishing, and sharing.
What is a Brand Portal and why build one?
What is a Brand Portal? A BrandKity Brand Portal (BrandKit) is a single, shareable web page that holds colors, typography, logos, visuals, collaterals, and source files for a brand, designed for easy client handoff and stakeholder access.
Why use BrandKity? It replaces clunky PDFs and scattered folders with a living portal that clients open in a browser, copy color hex codes, download assets, and view guidelines without special software.
How do I create a Brand Portal in 5 minutes?
- Create a new BrandKit (0:00–0:30). Click “New Brand Kit”, enter a name and pick an accent color — BrandKity opens the editor immediately with a draft portal ready to edit.
- Pick a template (0:30–1:00). Choose one of the available templates (e.g., Minimal, Editorial, Corporate) to set layout and typography; the canvas updates instantly.
- Add the six core blocks (1:00–2:30). Add these building blocks and drop in content: Colors, Typography, Logos, Visuals, Collaterals, Resources (Rich Text) — each block is designed for quick content entry and immediate preview.
- Upload files and set downloads (2:30–3:30). Upload logos, images, PDFs, ZIPs and enable downloads where appropriate; asset downloads are served via signed URLs and tracked in analytics.
- Rename, reorder, and hide sections (3:30–4:15). Use the left panel to reorder blocks via drag-and-drop, rename sections to match client terminology, and toggle visibility for any block you don’t want public.
- Publish and set access (4:15–4:45). Click Publish — your portal becomes live at a BrandKity URL (slug). Choose privacy: Public, Password, or Email OTP (allowlist) depending on who should view it.
- Copy and share the link (4:45–5:00). Copy the portal URL shown in the editor (slug is editable with a warning) and send it to clients — no login required for public portals.
Which blocks should I prioritize first?
- Colors: Add swatches (hex, optional RGB/CMYK/Pantone); viewers can click to copy hex instantly.
- Logos: Upload SVG/PNG/PDF/AI variants and enable downloads; viewers can toggle background previews (light/dark/transparent).
- Typography: Add font families and sample text; BrandKity supports Google, Adobe, and uploaded fonts with live previews.
How do I control who sees the portal?
- Public: Anyone with the link can view immediately — use when you want frictionless access.
- Password: Protect the portal with a password; viewers enter the password to gain access.
- Email OTP: Restrict access to an allowlist or request OTPs via email for secure, per-viewer access.
SEO, URLs, and sharing best practices
- Portal URL (slug): Slugs are created from the portal name, editable separately (changing slug can break existing links) — copy the full URL from the editor to share.
- SEO indexing: If you want search engines to index the portal, toggle SEO indexing in kit settings; password or OTP portals should remain noindex for privacy.
- Analytics: BrandKity records portal views and file downloads so you can show clients usage metrics.
Example quick checklist (one-line steps)
- Create BrandKit → Choose template → Add Colors, Logos, Typography → Upload files → Reorder & hide → Publish → Set privacy → Copy & share link.
Saurabh Kumar
Founder, BrandKity
Saurabh writes about practical brand systems, faster client handoffs, and scalable workflows for designers and agencies building repeatable delivery operations.
Connect on LinkedIn